How To Create Your First Widget
Showcasing live reviews on your website is one of the most effective ways to build immediate trust with visitors. ReviewCatalyst provides a variety of customizable widgets that you can embed in minutes, requiring little to no technical experience.
Step 1: Create Your Widget
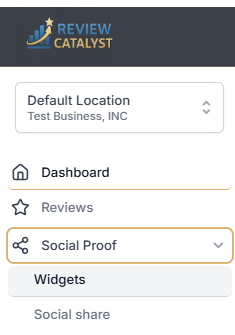
- Navigate to Social Proof: Click on Social Proof in the left sidebar navigation.
- Select Widgets: Choose Widgets from the dropdown menu to enter the widget management area.
- Initiate Creation: Click the Create Widget button to start the setup process.
- Name Your Widget: Give your widget a descriptive name (e.g., “Homepage Carousel”) and click Next.
Step 2: Choose Your Style and Customize
Our platform offers several “Widget Types” to fit any website layout. You can toggle through these in the Content tab:
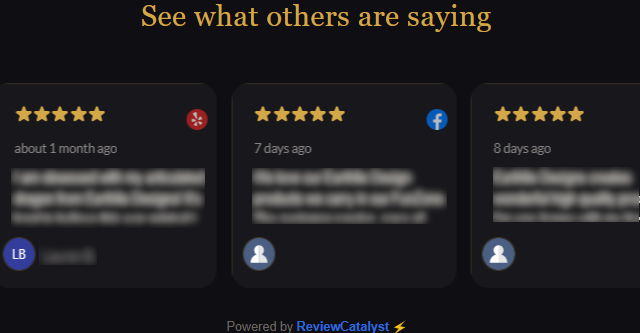
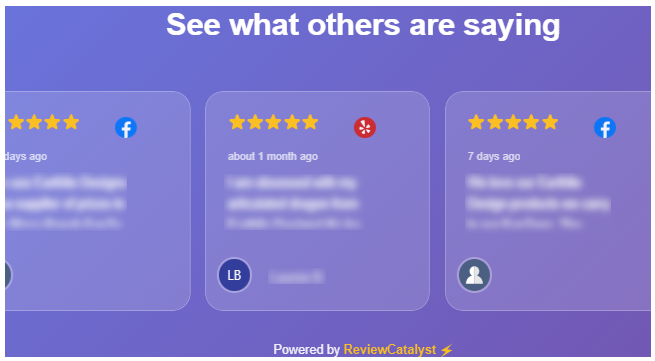
- Slider & Carousel: Great for hero sections or headers.
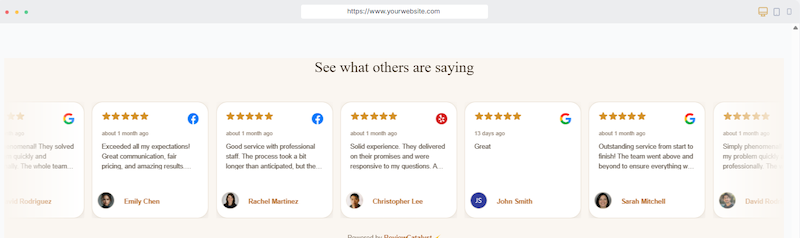
- Grid & List: Ideal for dedicated “Testimonials” pages.
- Summarized: A clean, modern layout that highlights the best feedback.
- Floating & Popups: Perfect for grabbing attention without taking up page space.
- Badges: Small, subtle icons that show off your overall rating.
Customization Options:
- Review Sources: Select exactly which platforms (Google, Facebook, Yelp, etc.) you want to pull reviews from.
- Filters: Set minimum rating requirements so only your best 4 and 5-star reviews are displayed.
- Branding: Toggle the “Hide Branding Link” option to keep the focus entirely on your business.
Step 3: Save and Install
Once you are happy with the preview of your widget:
- Save Your Work: Click the Save Widget button in the top right corner.
- Access Installation Code: A confirmation popup will appear. Click the Installation Steps button.
- Copy the Code: Click Copy to clipboard to grab your unique “Review Pixel” script.
- Embed on Your Site: Paste this code snippet into your website’s HTML, ideally just before the closing tag on any page where you want the widget to appear.
Pro Tip: If you aren’t comfortable editing your website’s code, you can use the Email Install Code button to send the instructions directly to your web developer.
Was this article helpful?
Thanks for your feedback!