How to Send Review Requests from Your Own Domain
By default, all review request emails are sent from our system address. To build better brand recognition and improve email deliverability, you can configure the system to send emails directly from your own domain.
Note: Before you begin, ensure you have login access to your domain’s DNS service provider (e.g., GoDaddy, Cloudflare, or Namecheap).
Phase 1: Adding and Verifying Your Domain
The first step is authorizing ReviewCatalyst to send mail on your behalf by updating your domain’s DNS records.
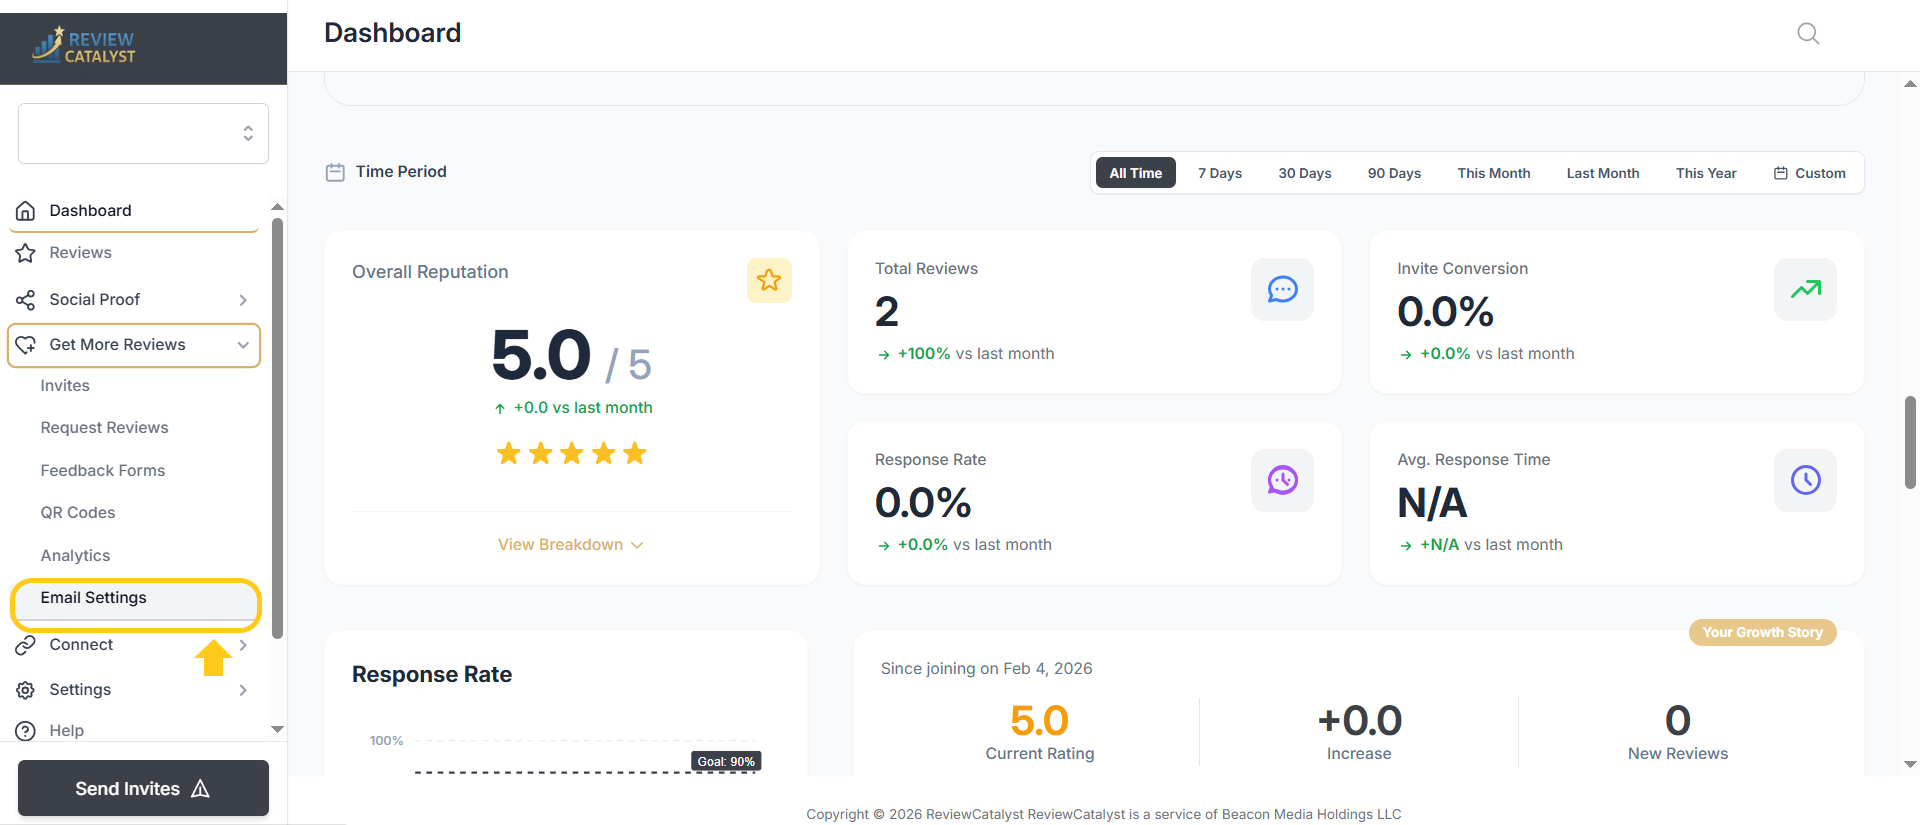
- Navigate to the Get More Reviews tab in the sidebar menu.
- Select Email Settings from the dropdown options.
- In the Domain field, enter your domain name. Do not include “www.” (Example: mydomain.com).
- Click Save.
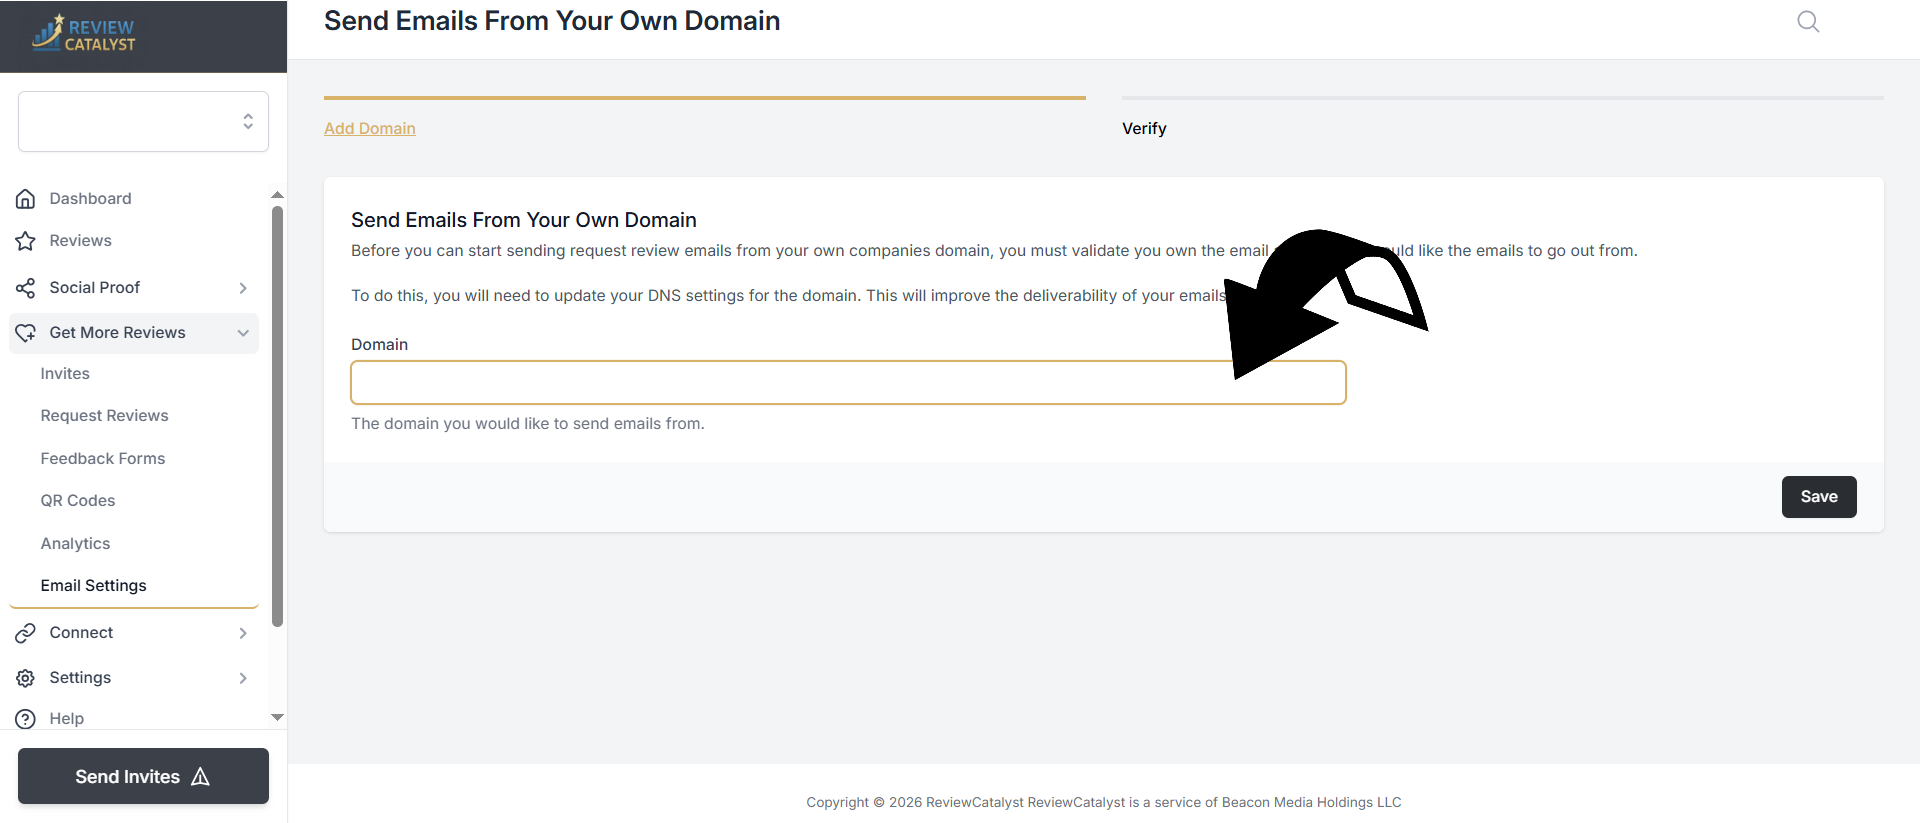
- DNS Verification: A list of DNS records will appear on the page. Carefully copy these records into your DNS provider’s management console.
- Once you have added the records at your provider, return to this page and click Verify.
- Success: You will see green checkmarks next to each record.
- Having Issues? DNS changes can take anywhere from a few minutes to an hour to propagate across the internet. If it doesn’t verify immediately, please wait and try again shortly.
Phase 2: Updating Your Campaign Settings
Once your domain is verified, you need to update your specific review campaigns to use your new sender information.
- Click on Request Reviews in the left sidebar.
- Locate the email campaign you wish to update and click Edit.
- Navigate to the Settings tab within the campaign editor.
- Scroll down to the Sender section:
- From Email: Enter the email address you want the requests to come from.
- Reply-to Email: Enter the address where you want to receive customer replies (this can be the same as your “From” address).
- From Name / Reply-to Name: Fill these in with your business name or a specific team member’s name.
- Click Save.
Phase 3: Sending a Test Email
Finally, confirm that your configuration is working correctly by sending a test message.
- While still in the campaign editor, click on the Content tab.
- Scroll to the bottom and click the Save and Send Test button.
- Enter your personal email address to receive the test.
- Check your inbox to verify that the “From” address and branding match your new domain configuration.
Was this article helpful?
Thanks for your feedback!